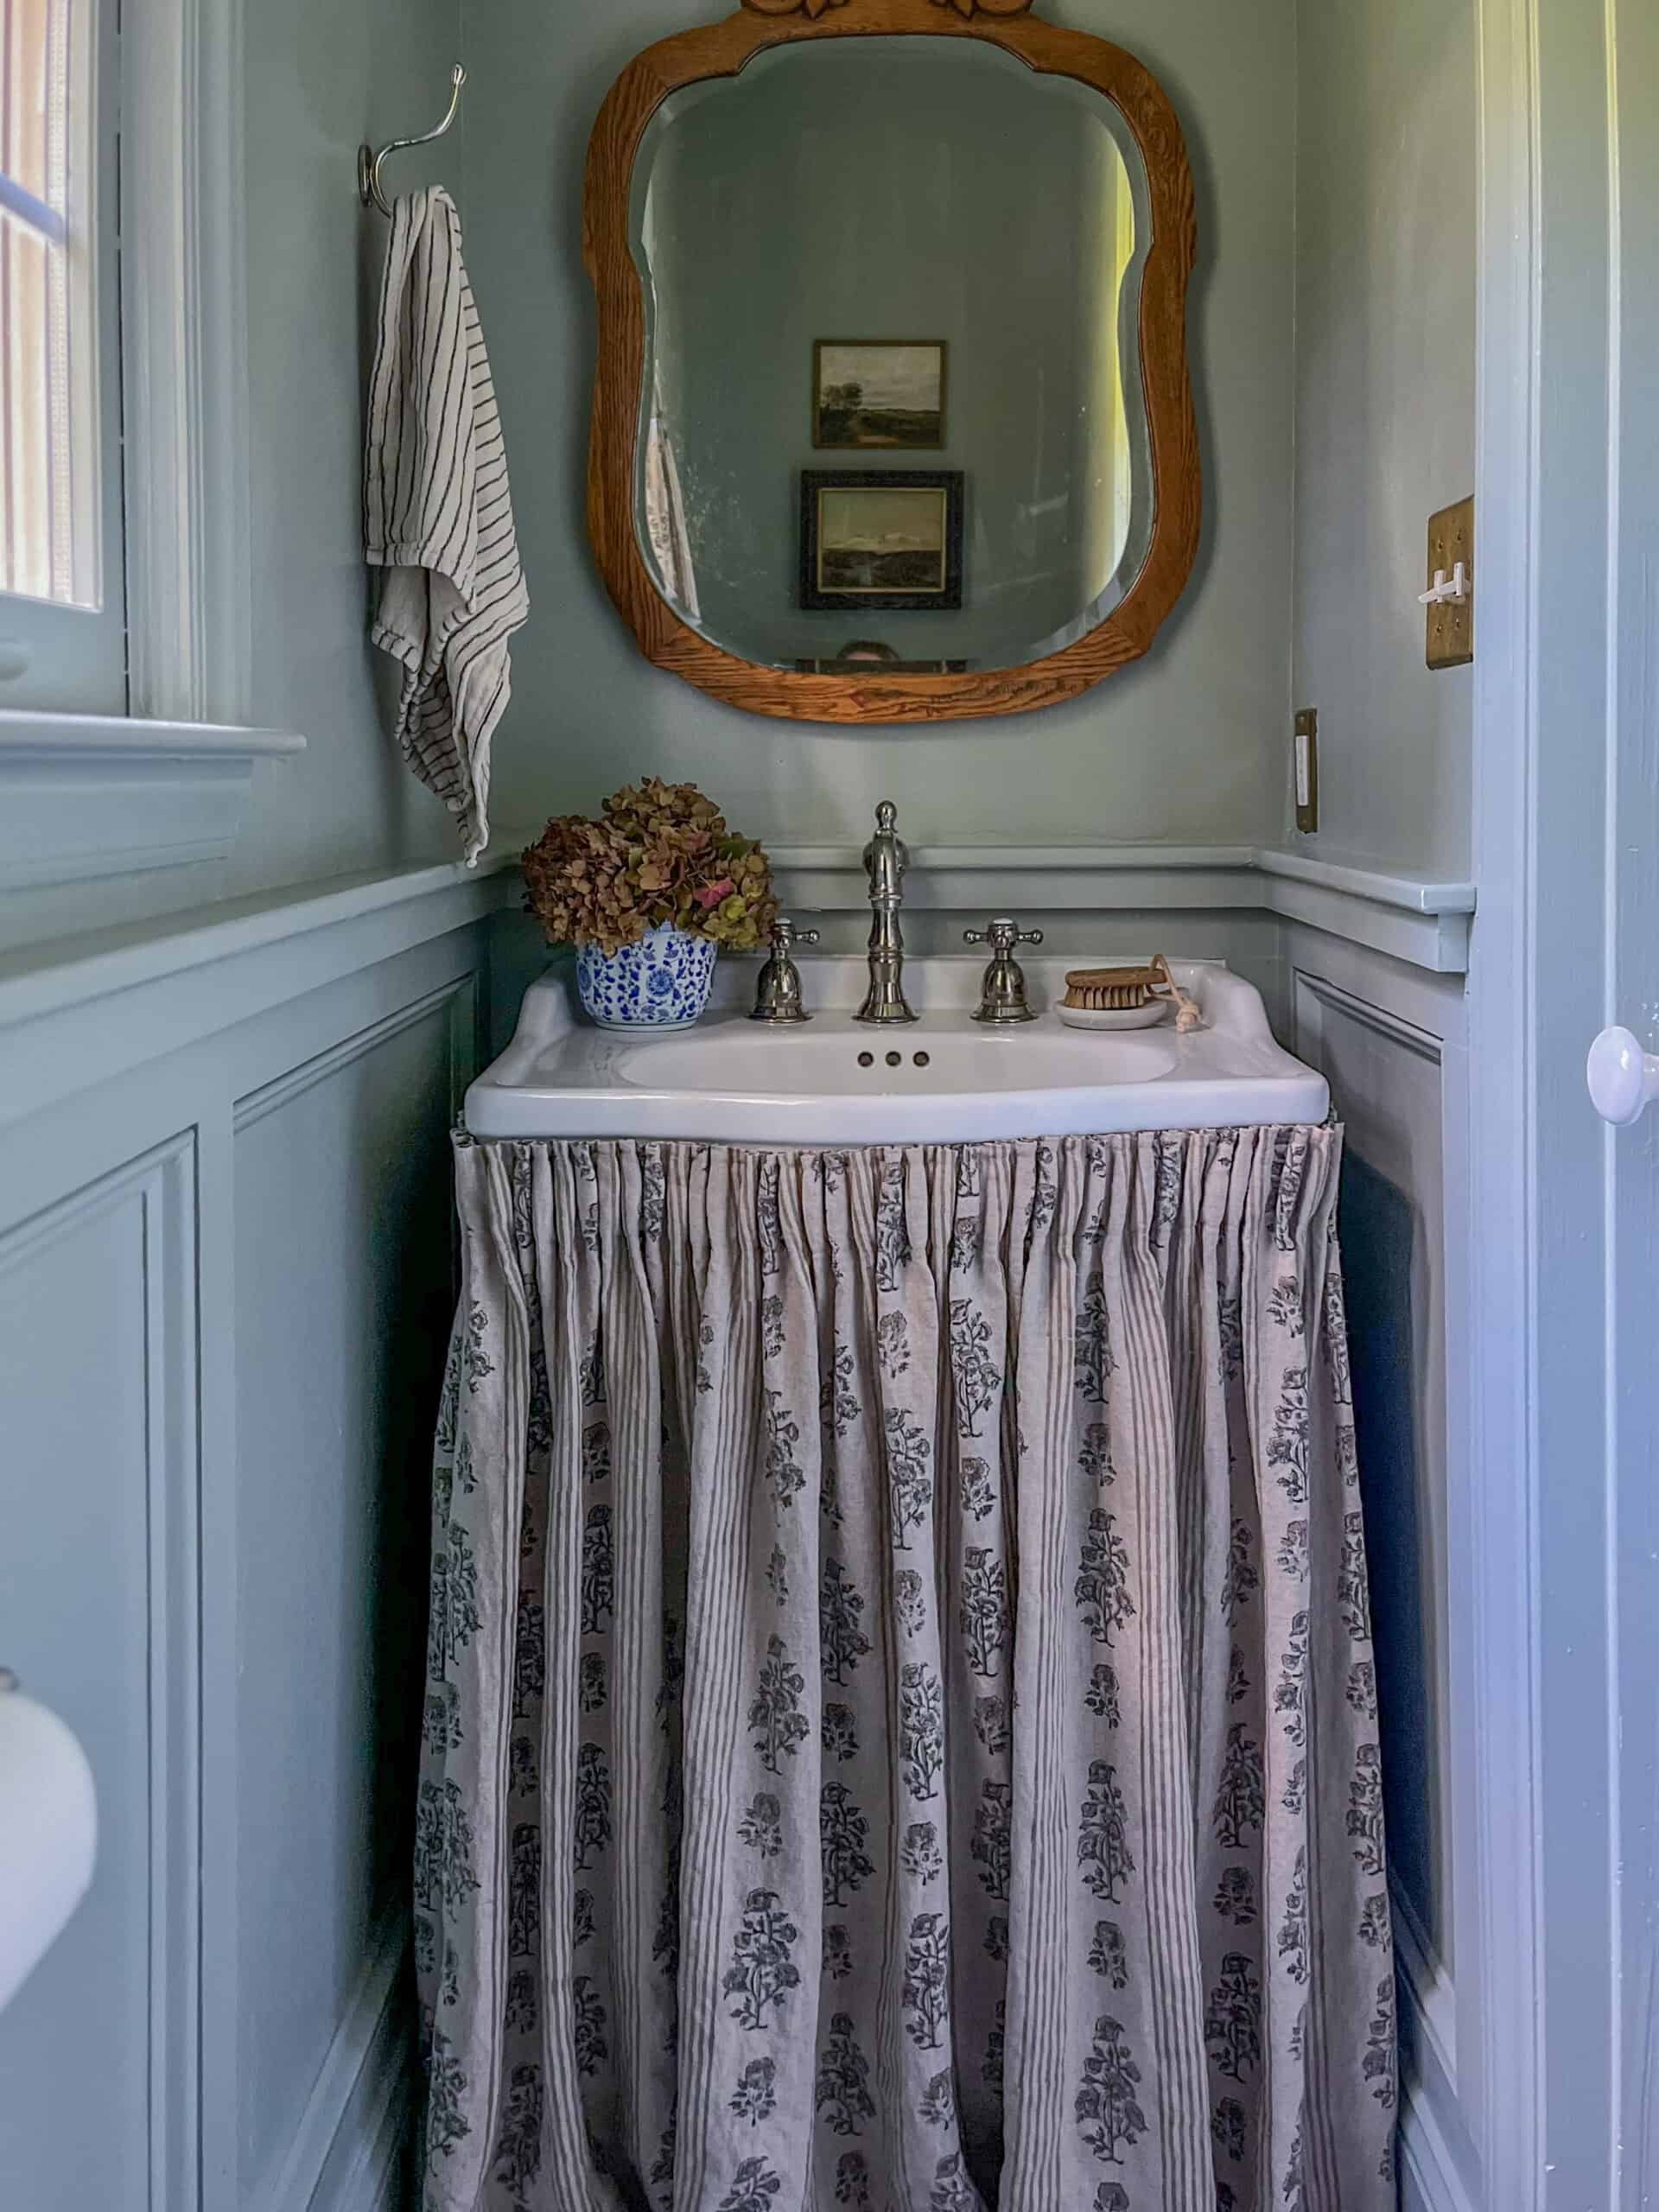
How to Make a Pleated Bathroom Sink Skirt
Bathroom sink skirt step-by-step tutorial.
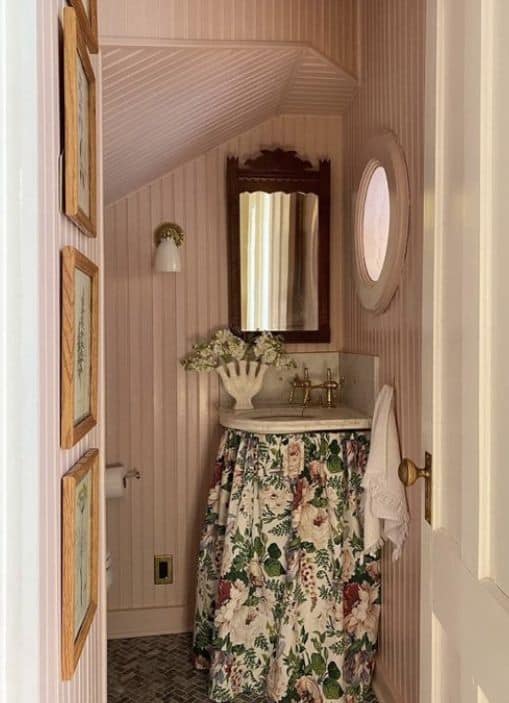
Sink skirts have been a hallmark of country cottage homes for hundreds of years. Recently, they have been having a moment in the design world, making appearances in even high-end homes to add a cozy, nostalgic feel.
This traditional accent is a charming way to dress up a basic pedestal sink, hide unsightly pipes or create hidden storage.
Sink skirts are ideal for bathrooms, kitchens, and laundry rooms, and fit really well into a classic home style.

Creating a custom pleated sink skirt is doable for any skill level. Plus, it’s a super affordable way to add an extra layer of pattern and texture to your bathroom.
Linen Block Print Fabric

The budget for your sink skirt will vary depending on the fabric and size of the sink. I’ve seen people use shower curtains or thrifted drapes to make these, so you can definitely get thrifty!
You will need enough fabric for 2.5-3x the total width of your sink. Personally, I like the look of a really full skirt with tighter pencil pleats, so I went with closer to 3x the width. Looser pleats will allow you to use less fabric and save a little money.
For my fabric, I splurged a little and purchased a 100% linen block print fabric from Etsy. I purchased enough fabric for 3x the perimeter of my sink, plus a little extra to make a small cafe curtain to match.
The total for the fabric was $139. Other supplies required are thread, adhesive velcro, and string pleat tape, making my total investment around $180.
Bathroom Sink Skirt Tutorial
Tools
- Sewing Machine (Similar. Mine is from Facebook Marketplace and no longer available.)
- Iron
- Fabric Scissors
- Fabric pins
- Tape Measure
- Straight Edge (like a ruler)
- Fabric Pencil
- Hem Ruler (optional)
Supplies
- Fabric (2.5-3x’s the measurement of the sink perimeter. I pre-washed and ironed the fabric before starting.)
- Thread (Choose a color that blends with the fabric.)
- String Pleat Tape
- Fabric Adhesive Velcro
- Super glue/fabric glue (optional)
How Much Fabric Will I need?
Depending on the size of your pedestal sink, you may need more or less fabric for your sink skirt. To calculate how much you will need, start with two measurements.
- Width: Measure the front of your sink and then both sides if wrapping.
- Length: Measure from the location on the sink you want to hang the sink skirt, down to the floor.
Add allowances:
- Width: Multiply your sink width by 2.5-3x to allow for pleats and hems (Ex: 24+18+18 in. X 3 = 180 in.).
- Length: Add 6-8 inches to the total length (4″ for the top and 4″ for the bottom hem). It’s good to be a little generous with fabric allowances in case the skirt gets uneven during the sewing process. At the very least, allow for 4 inches for the top hem, and the bottom hem can be smaller (2-3 inches).
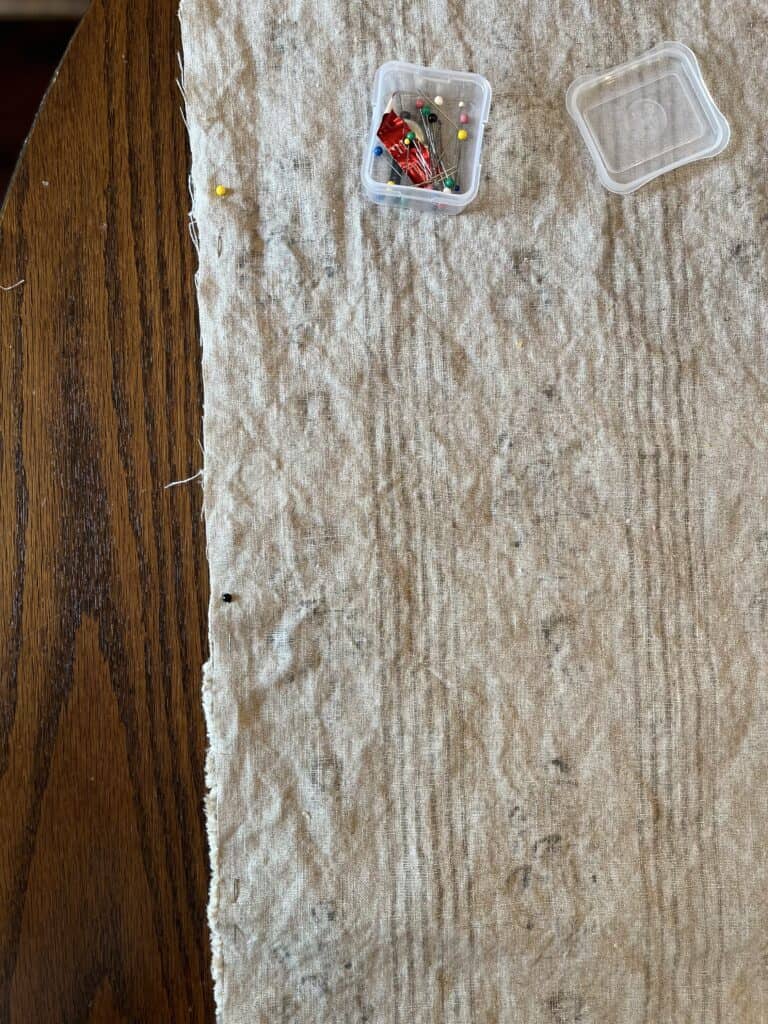
Step #1: Cut Fabric Panels for Bathroom Sink Skirt

First, determine how many panels of fabric are needed to get your gathered width measurement. For example, my fabric is 58 inches wide. To achieve my required width, I needed three full-width panels of fabric, each cut to 46 inches long. To make fewer measurements and cuts, fold the fabric in half length-wise, ensuring the fabric is lying flat, and the edges are carefully aligned.

Use a tape measure to mark the length in multiple spots with a fabric pencil.

Next, using a straight edge as a guide, connect the marks by drawing a line with the fabric pencil.

Cut fabric along the line. I ended up with three full-width sections of fabric, each 46″ long.
Step #2: Sew Panels Together

Sew all the fabric panels together. Start by carefully aligning two panels together with printed sides facing each other. Make sure the patterns are going in the same direction.
On one side, pin the fabric together lengthwise.

Sew 1/2-1 inch seam with a simple straight stitch. Repeat this process until all the panels are connected.
Step #3: Hem the Left & Right Sides

You should now have one very wide piece of fabric. Hem both sides of the fabric (length-wise)
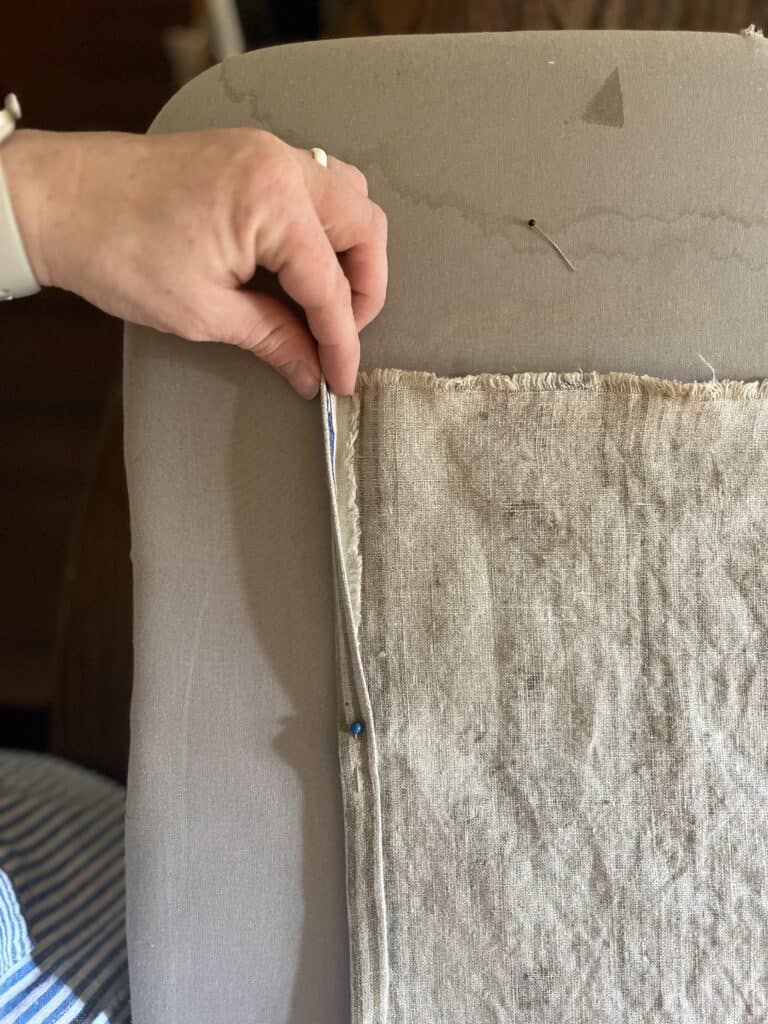
Create a 1/2-inch double-fold hem. Fold fabric in by a 1/2-inch, press with iron, then fold over another 1/2-inch and press with iron.

Pin in place as you go and then sew.
Step #4: Create the Top Hem

To make the top hem, you will create another double-fold, but it will be deeper. At the top of the fabric, make a 1/2-inch fold and press with an iron. Next, fold down another 4 inches to create the double-fold. Press with the iron and pin in place as you go. Sew along the bottom of the hem.
Note: The deeper hem is to provide extra support for the pleat tape and also prevent it from showing through.
Step #5: Attach Pleat Tape
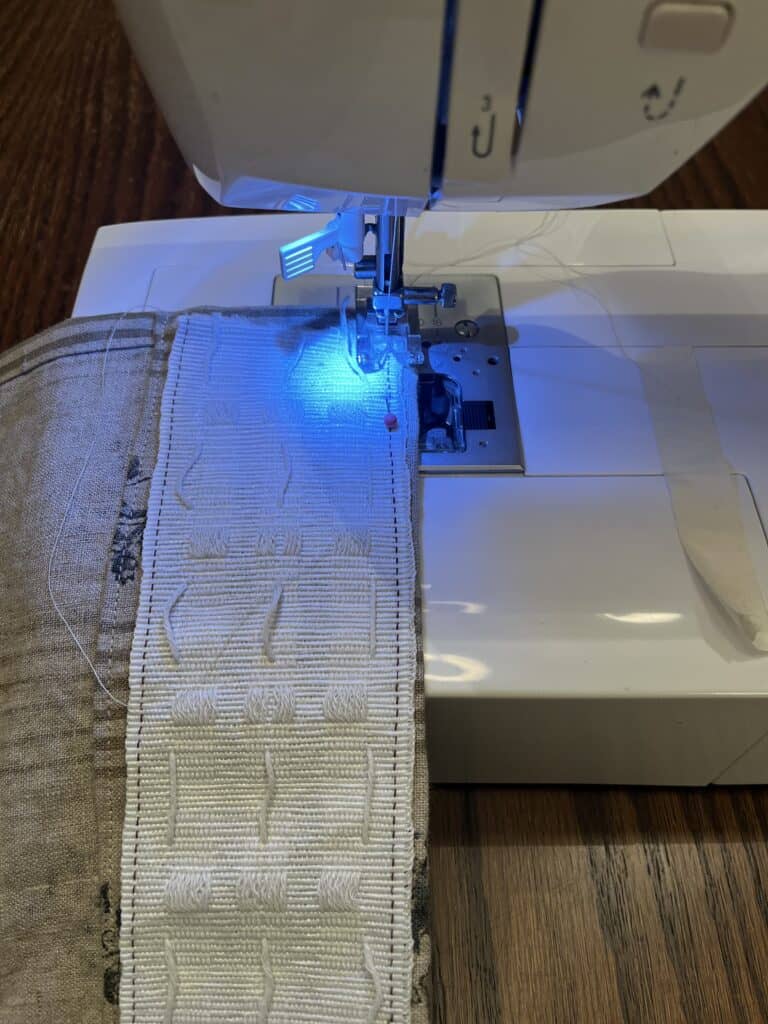
Next, measure and cut the pleat tape to fit the total width of your fabric. Pin in place and, following the stitch guides on either side, sew in place. Do not sew the sides of the pleat tape! We will use them in a later step.

At this point, you should have one long piece of fabric with the sides hemmed and a deeper top hem with pleat tape attached.
Iron the fabric before hemming the final length.
Step #6: Hem the Bottom
As with the other hems, create a double-fold. The size of the bottom hem will be whatever is required to achieve your desired length for hanging. I ended up doing a 1-inch double-fold hem.
Step #7: Create Pleats
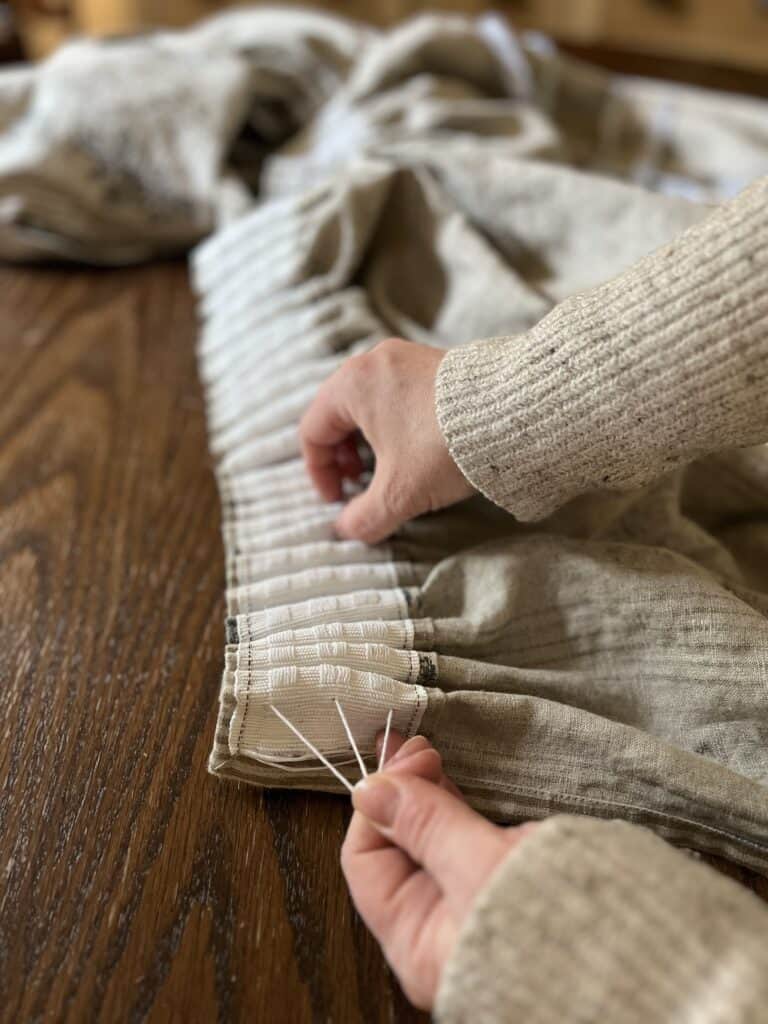
Now we get to the fun part!
Gently pull on the strings of the pleat tape and start pushing fabric towards the center to make pleats.
Because it’s a lot of fabric, I found it easier to work from both sides until the desired width is achieved.

Here is what the pleats look like from the front–so stunning!

Tie the strings into a slip knot to secure.


Coil the strings neatly and tuck them into the side opening of the pleat tape. This allows you to make adjustments if needed.
At this point, I tested the skirt on my sink to make sure it was the correct size before applying the velcro.
Step #8: Apply Velcro & Hang

Finally, apply the adhesive Velcro to the skirt. I used the “soft” side on the skirt in case I need to wash it. I discovered later that the adhesive is not strong enough to hold up the skirts’ weight. Adding a little super glue between the pleat tape and velcro did the trick. Next, attach the “tough” side of the Velcro to the sink.

Finally, attach your beautiful custom skirt to the sink!
I’m so amazed at what a stunning difference this sink skirt makes in our tiny bathroom! It’s such a fun way to dress up a boring pedestal sink while adding so much pattern, texture, and warmth.
Making a custom bathroom sink skirt is probably one of my favorite DIY projects to date. I love it because it is very beginner-friendly and so forgiving that any skill level can make this look amazing! Let me know in the comments if you tried this tutorial, and be sure to watch the step-by-step YouTube tutorial too!


