neutral pumpkin tablescape
The weather is finally getting chilly here in North Carolina, and I couldn’t be happier! This fall weather is so inspiring to me which is why I’m excited about this tablescape, because its all about fall, pumpkins, and neutrals…just a few of my favorite things!
All the pumpkins for this look are from my local farmer’s market. I always love going to the farmer’s market, but I especially love going during the fall. There’s something so cozy and extra magical when you have piles of pumpkins surrounding you while you shop.
This look is super budget friendly and so simple for anyone to accomplish. You don’t have to go out and buy all new stuff. I used items you find around your home to personalize, create different heights, and make it truly yours. Since all my dishes are in storage at the moment (we are in the process of moving), I used some items I found around my sister’s house. She also happens to have an amazing farmhouse table which is the perfect back drop for this neutral fall tablescape.
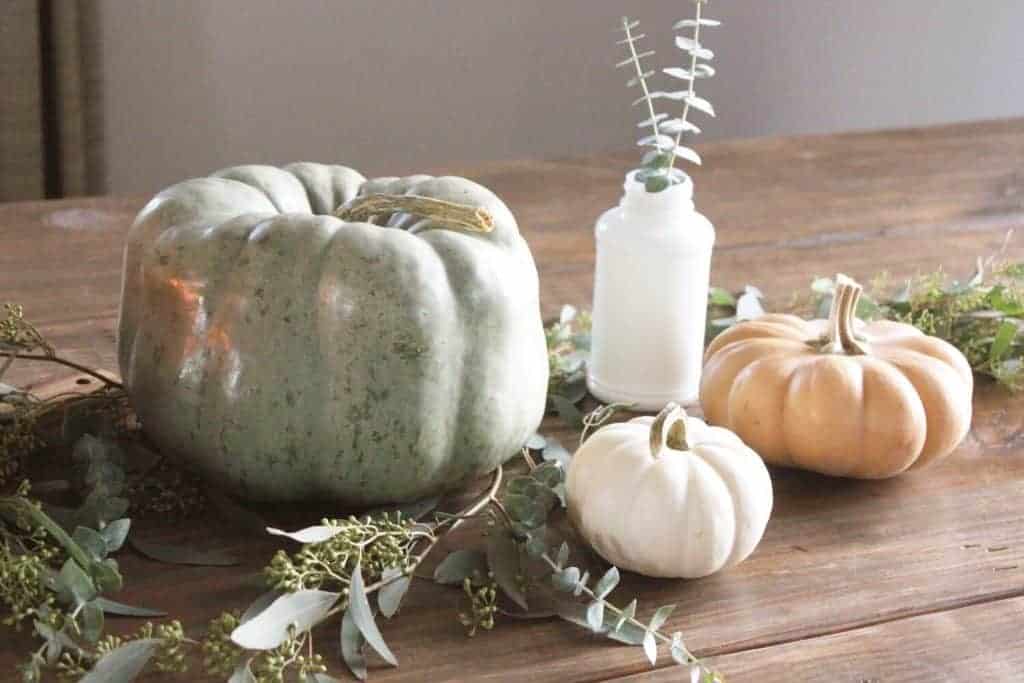
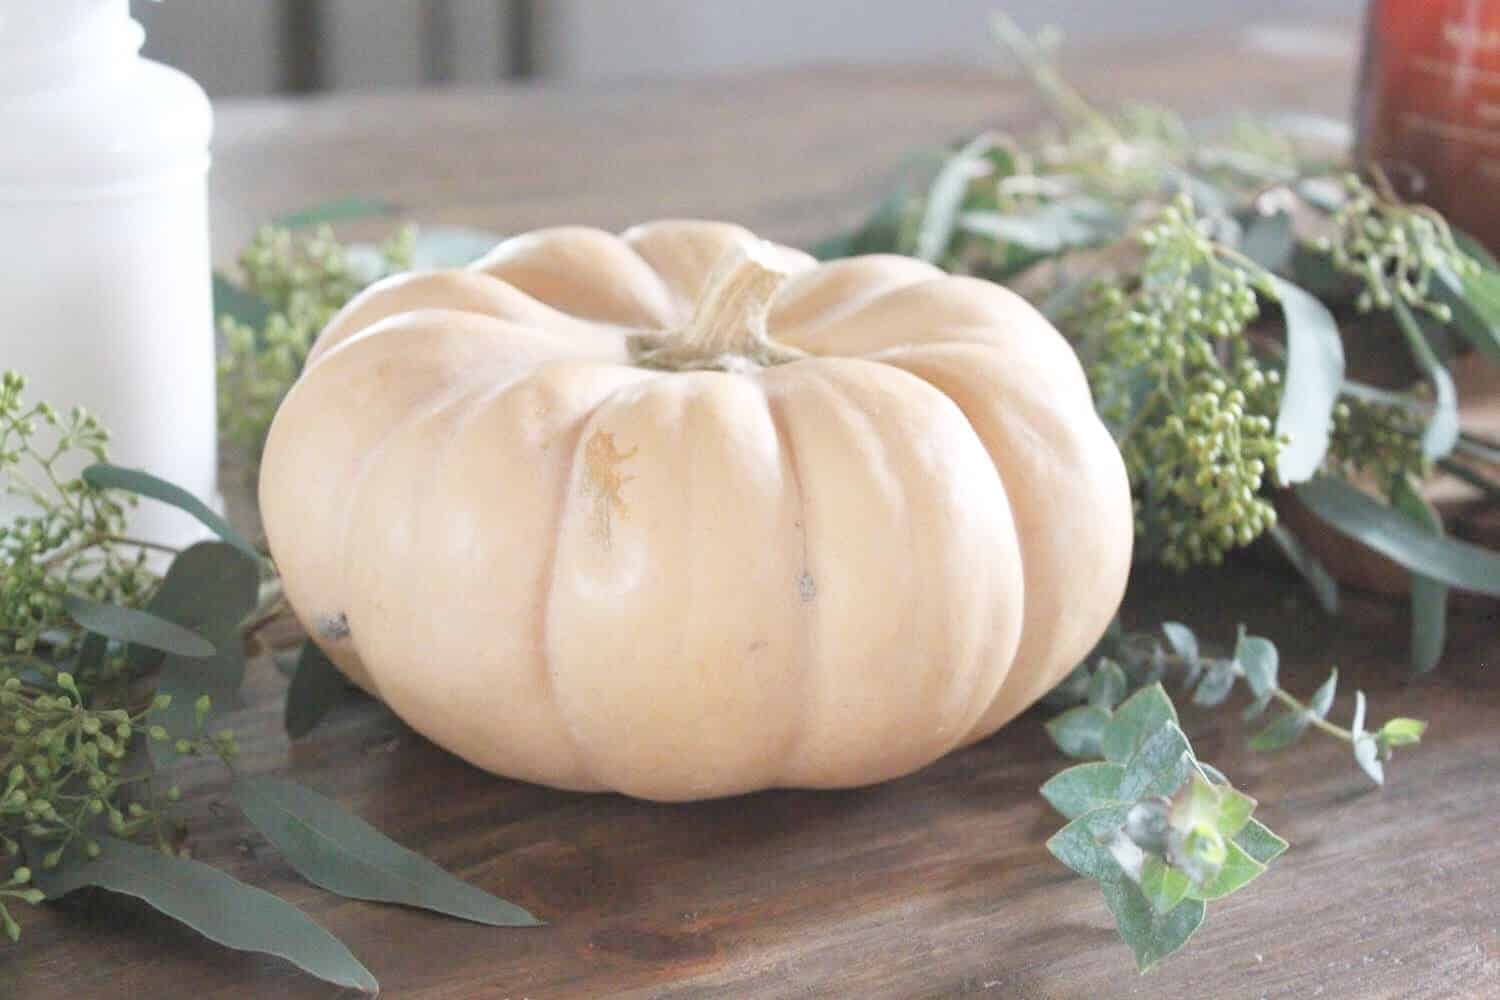
The main items I used are pumpkins (of course), some greens, and a few items of different heights. To create the various heights, I used little antique milk bottles as vases and candy dishes as pedestals; all things I found around the house. I love to mix old and new together. The milk bottles and candy dishes are all antique finds by my sister. I also love using neutrals, because I think it creates a whimsical vibe, so as you can see, even my orange pumpkins aren’t really too orange.
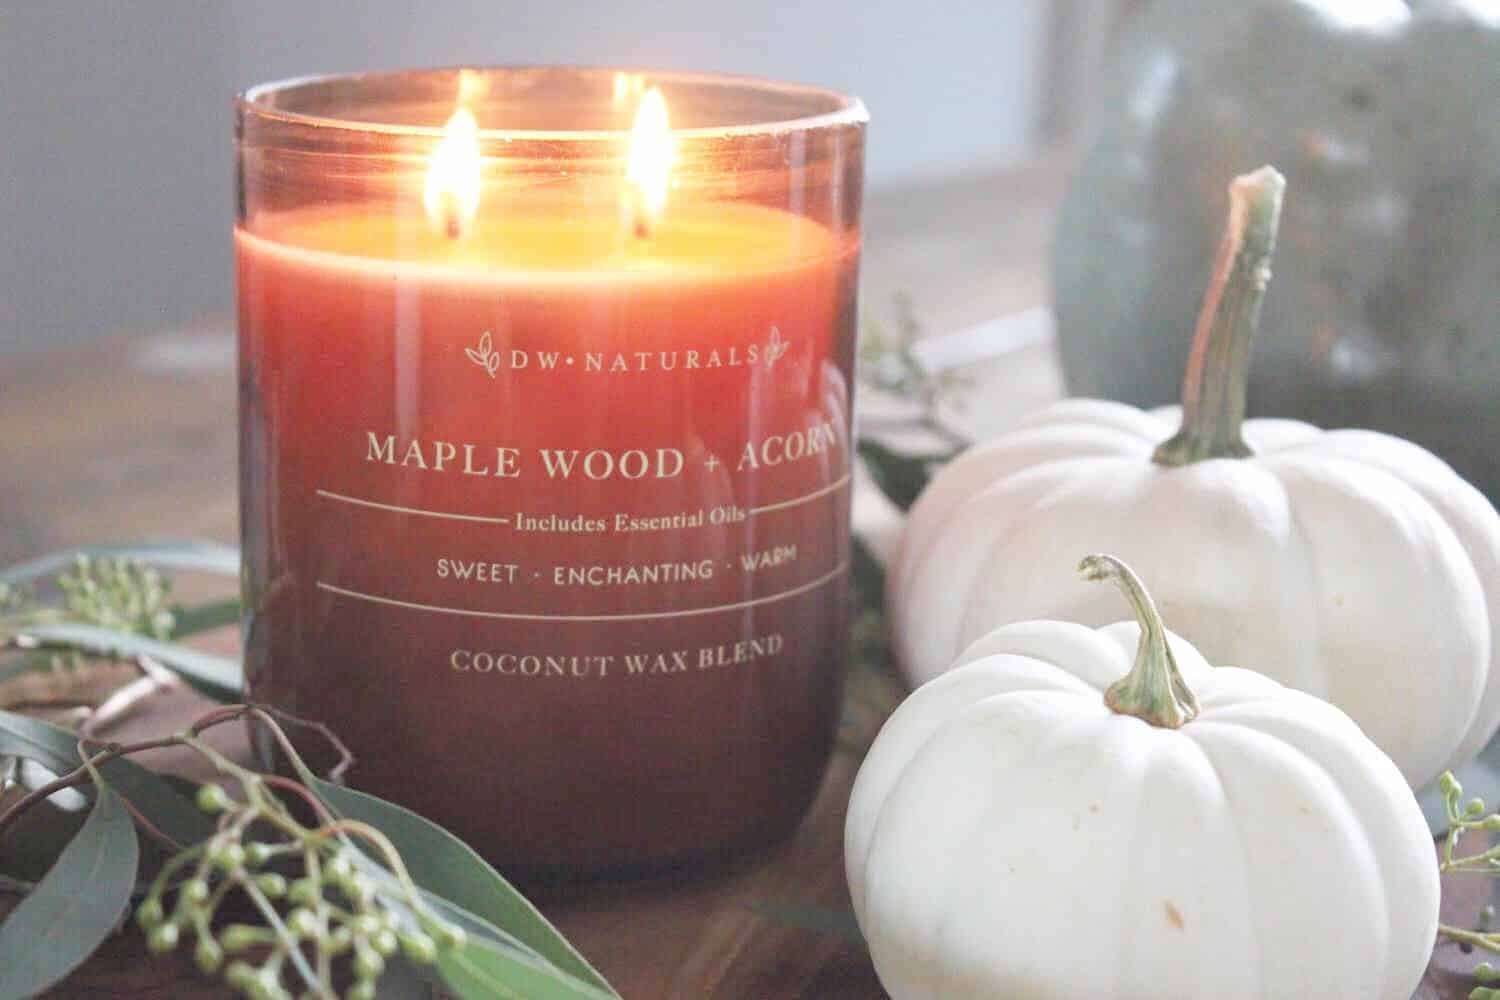
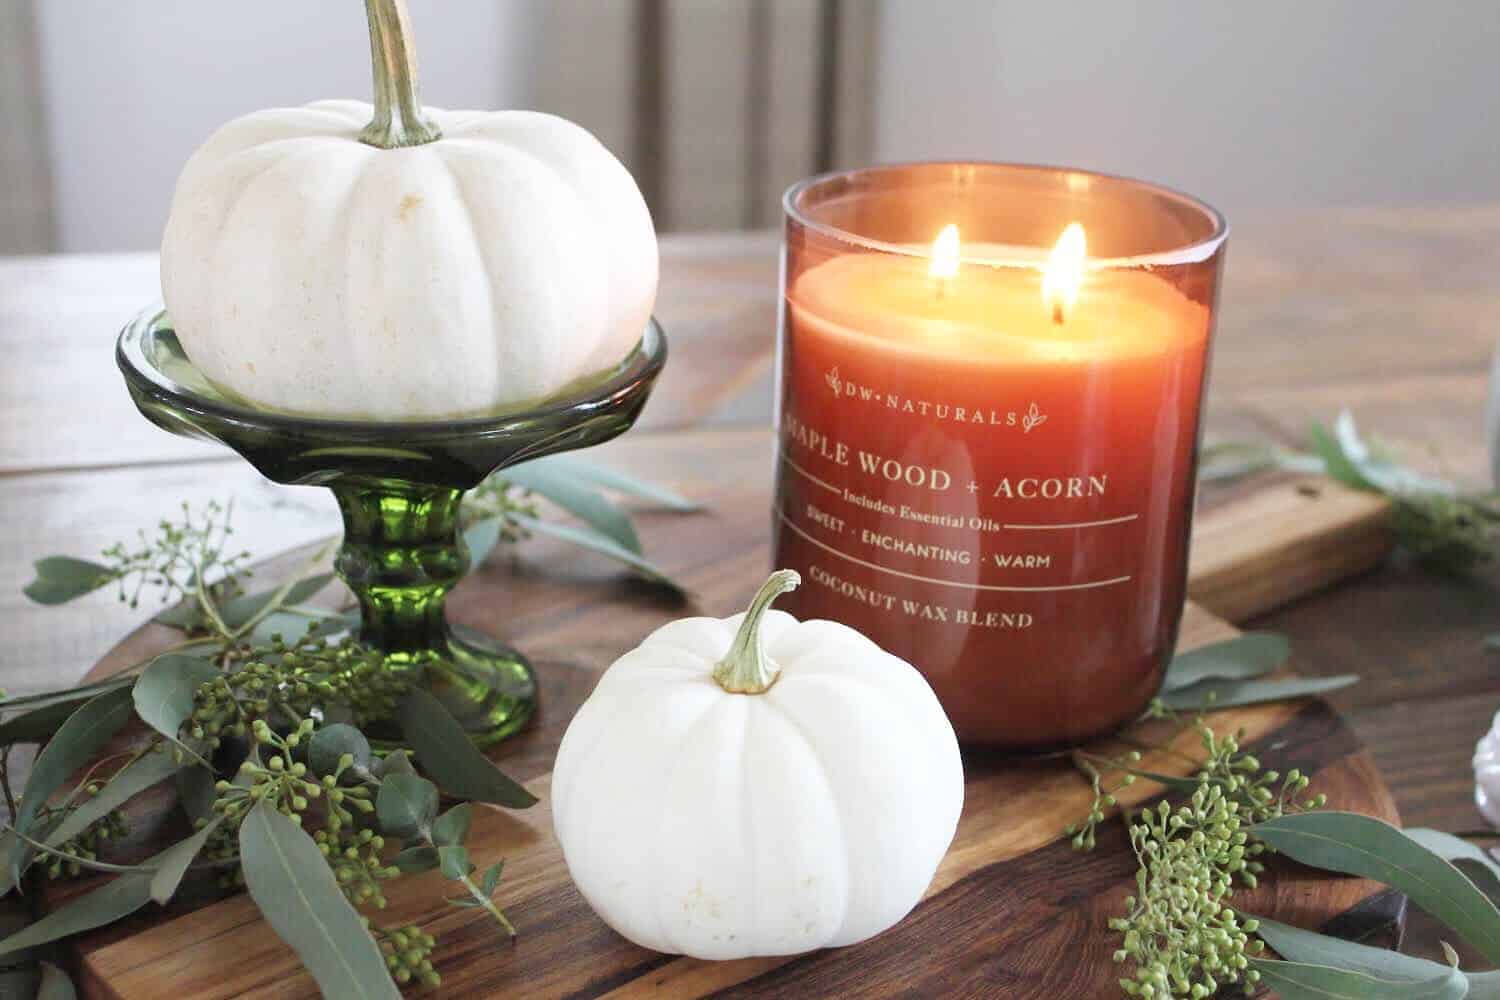
For this look, I started in the middle of the table with an anchor. I like the look of a round cutting board and I knew I wanted a fall candle in the middle too. I found the amber colored candle at Marshalls for a reasonable price. The amber adds a bit of warmth to the color scheme. Plus, it smells just like fall! From there, I arranged my pumpkins around the cutting board where I felt they look the best, but I moved them around constantly during the whole process.

One big tip I can give is, don’t be afraid of asymmetry. Many times I think people, me included, get caught up in feeling like everything needs to be perfectly symmetrical. It’s so interesting when you have some asymmetry in your decorating, and I think the key is to have similar heights, so it doesn’t appear lopsided. Obviously, I enjoy a symmetrical look, but just don’t be afraid of changing things up. As you can see, I have the big green pumpkin on one side, and I balanced it out by elevating the small while pumpkins on candy dishes so the heights level out.
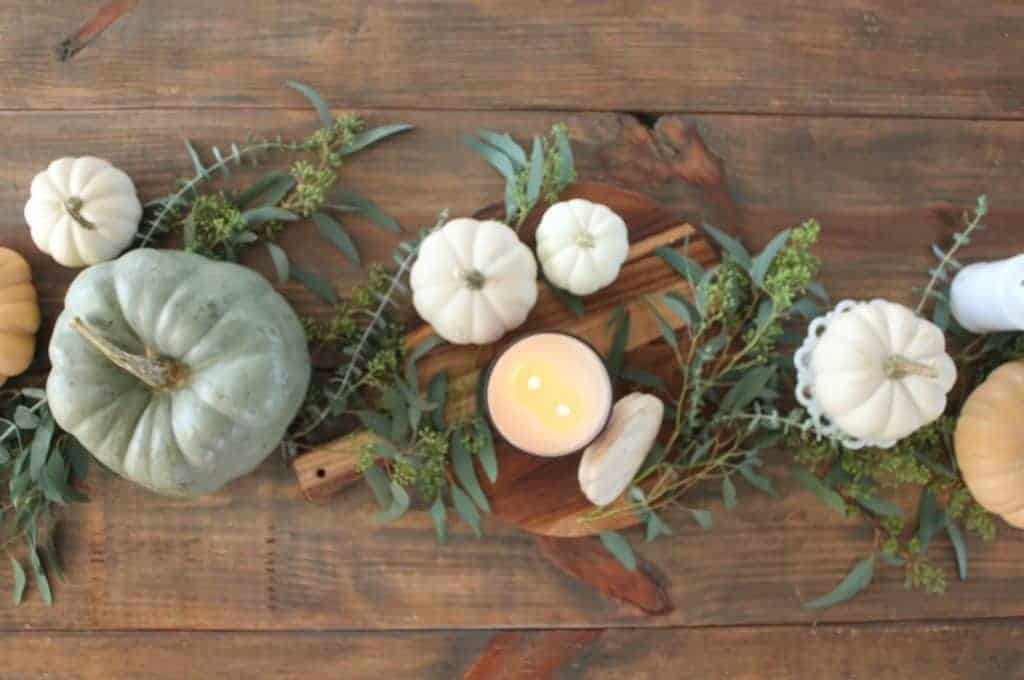
After arranging the pumpkins and playing around with the heights, I went back in and filled it in with greens. I used seeded and baby blue eucalyptus. I love using variations of eucalyptus for a couple of reasons: 1. It’s so forgiving in the decorating process meaning it’s easy to arrange. 2. It smells amazing. 3. Eucalyptus is pretty hardy and can last without water for a few days inside. Additionally, once it’s dried out it still looks beautiful, so you really get your money’s worth. If you have a Trader Joe’s nearby, they always have greens in their floral section, and I bought each bundle for $2.99. Depending on how big your tablescape is 2-3 bundles should be enough. When arranging the greens, I tuck the stems under the pumpkins or out of the way so no one can see the raw ends.
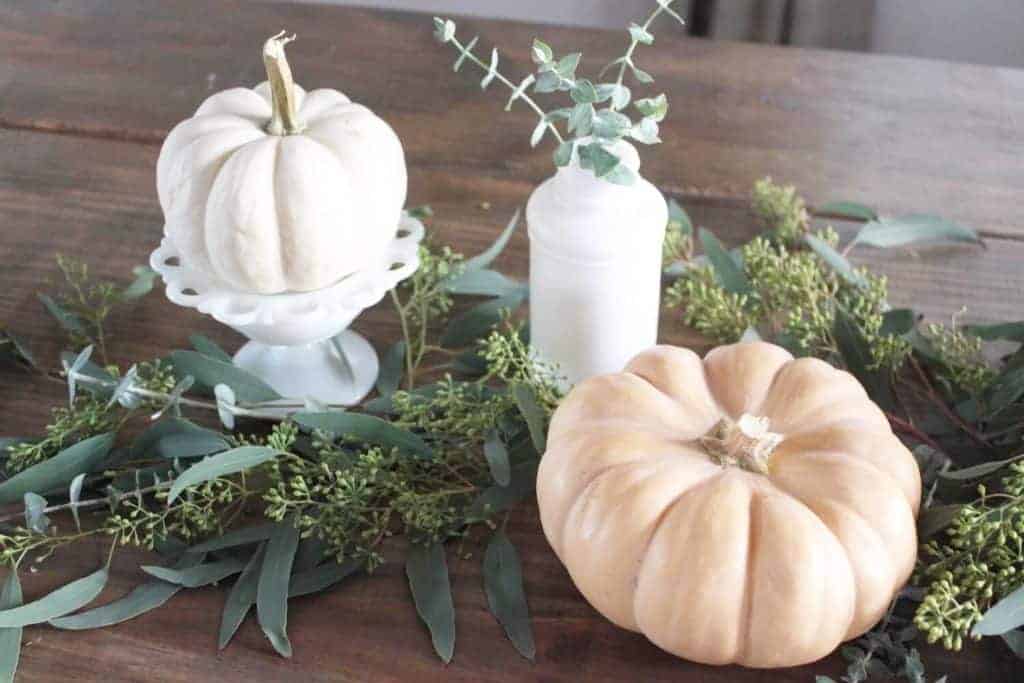
As you fill in the gaps with the greens, it really starts taking shape. From here, I added in the little milk bottles and rearranged things where I felt they looked best. The fun part about this process is there is no right or wrong way of doing it. I showed you some ideas that work best for me, but you can do whatever works for you. It’s all about enjoying the process!
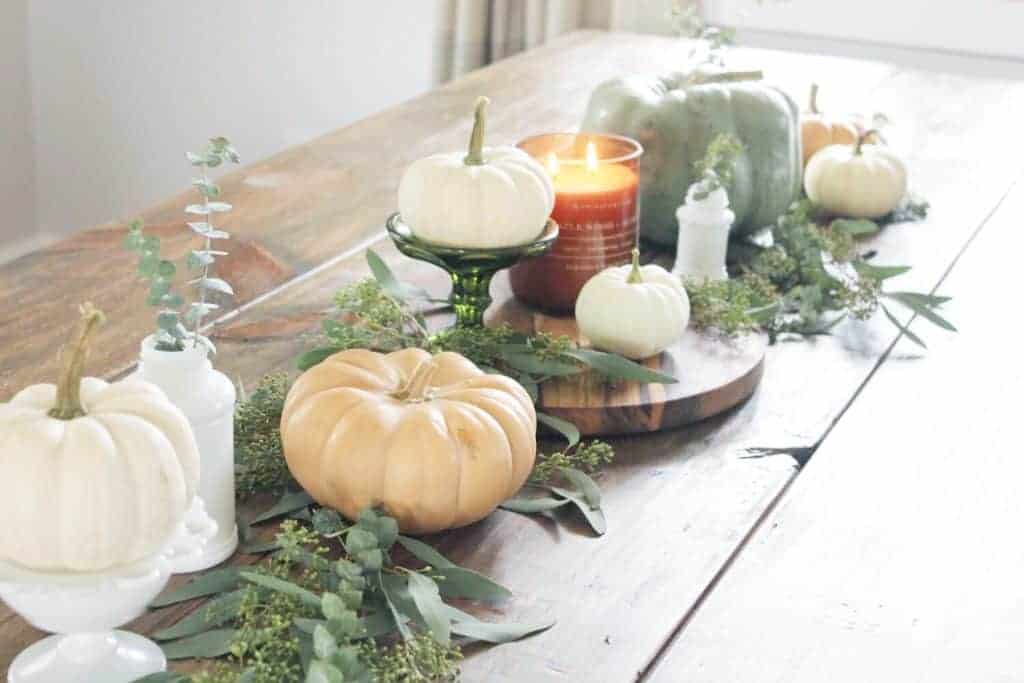
The pumpkins, greens, and candle cost me around $35.00 in total. As you can see, you can get as extravagant or simple as you want to with this tablescape. I hope you feel inspired to create your own fall tablescape today!


